
Transcendental Baking
I came to The Great British Bake Off to eat cakes with my eyes, but I stayed for the life lessons. No joke, I have spun a personal zen-ish life philosophy from meditating continuously on the four seasons of #GBBO. What has #GBBO taught me? That even though you can practice and prepare, study your methods, and be the best baker you can be, any week can be your week to say goodbye, so you might as well enjoy your time in the tent. Baking is the perfect balance of art and impartiality. You want to present something flavorful, inventive and beautiful, but a lot of the quality of your bake comes down to the indisputable. Is your bread properly risen? Is your pastry flakey? Are the cherries in your cake properly distributed? And so on. There is a certain amount you can control for your bread’s risen-ness or your pastry’s flakiness through proper technique, but there is chaos in the universe, and that chaos can choose to express itself in your bake. There can be disappointment, but there can be no hard feelings. You just have to let it go and move on to the next bake. Scones have literally become the “chop wood, carry water” of my mini-baking enlightenment.

It’s this enlightenment that has inspired me to make all of the Technical Bakes of The Great British Bake Off, starting with Series 5 (American Season 1) and I have just reached Series 5, Episode 4. This is the episode that contains one of the great parables in my Tao of Dough, my Zen and the Art of Mascarpone Maintenance – the one that starts with Martha’s cookie crumbling and Iain presenting a bin to the judges.
Martha started the weekend with signature self-saucing pudds that had no structural integrity. Despite having practiced at home, her chocolate fondants were cracked and oozing their peanut butter carnage all over their plates. Judge Hollywood exclaimed “Oh, dear!” at the sight of them. Judge Berry, being a classy dame, focused on the lightness sponge, but Hollywood, pouring self-sauce in her wound, pointed out that the dryness of the peanut butter was welding his mouth shut.
In the post-pudd interview, Martha still managed a smile. “I try and be a tough cookie. Sometimes it’s a bit hard and the cookie has to crumble, but I’ve done my best.” Martha was able to bounce back in the second round and get first place in the Technical Round, producing a Tiramisu Cake that and sharp edges, even layers, nicely soaked sponge – “and the flavors were perfect,” Judge Berry proclaimed. Martha just beamed.
Iain had a bit of a stumble in the Tiramisu Technical Bake. He had a snafu with his sponge not rising and we got a got a glimpse of the bubbling rage seething just below his russet beard. He had to start again from scratch and hustle through the rest of the 2 1/2 hour challenge. He was able to place a finished cake on the Gingham Alter, and he even gets a nice compliment on the rise of his sponge, but the rush job resulted in a sloppy finish and not enough coffee in the sponge. He ends up placing sixth out of nine, just beating out Nancy who’s cake was literally pissing coffee and Norman who had hardly any coffee at all.
There is always pressure in the tent, and I think in some ways Iain felt it more than most. His performance up to that had been middling to poor, especially when it came to technicals, and he did have something special up his sleeve with this baked Alaska showstopper. He had come up with an extraordinarily inventive and potentially delicious recipe – black sesame seed ice cream on a cocoa sponge with a layer of caramel. Iain even got a “Niiiiiice” from Paul Hollywood when he laid out his ice cream scheme, “it could be fascinating.”
But the hottest day of the British summer, his ice cream dream slipped, or rather melted, out of his grasp. Diana, looking for some valuable freezer real estate, mistakenly left his lovingly churned sesame ice cream out of the icebox. The scene is heart-wrenching – you just hear the panicked voice of Iain ask “Wh-where’s my ice cream?” and Diana answers, “It’s here, sorry Iain…” Iain lets out a guttural “Aaaaaarrrrggggg!” The 40 seconds the frozen core of his showstopper was out of the freezer were enough to reduce it to a grey soup. “Why? Why would you take ice cream out of the freezer?” In a fit of frustration, and despite angelic host Sue’s protestations, Iain chucks his entire creation, sponge and all, in the bin and storms his skinny jeans off into the English countryside like a hipster yeti.

At presentation time, Iain presents Judges Hollywood and Berry the silver garbage can that held his aborted delectable. He does the noble thing. He doesn’t point fingers or protest. He simply presented the facts in his gorgeous Belfastian brogue, “Had some issues with the ice cream and I let the frustration of that get the better of me.” Paul inquired after the sponge and the meringue, but alas it was all binned. Mary sympathized, “We all make mistakes and we would’ve liked to see that sponge.” With nothing to adjudicate, the judges had no choice but to send Iain home, saving boring Norman’s hide for one more week.

The lesson? In the grand tent of life, always bring something to the table – even if it is a meringue-d sponge and a bowl of toasted sesame soup. Small injustices happen, like a dotty grandmother leaving your ice cream out of the freezer, but it’s how you handle it that really counts.
There is a whole other morality tale about how all of the United Kingdom turned like monsters against poor Diane calling the situation #bingate and declaring #justiceforiain, and damaging her so irrevocably via social media that she disappeared from the show claiming it was for “health reasons” but that is a story for another blog. Keep your swan neck held high, Diana! I have tiramisu to make.
The Brief – Mary Berry’s Tiramisu Cake

Series 5 (American Season 1): Episode 4. Sue announces that the bakers have 2 1/2 hours to make Mary Berry’s Tiramisu Cake – a twist on a classic Italian dessert whose name means, “pick me up!” (Thanks, Wikipedia!) And what depth of ennui could not be cured by ladyfingers soaked in coffee and booze hiding strata of sweetened mascarpone cheese and shaved chocolate? Frankly, any one of those components applied directly to my sads would give me enough reason to carry on.

Mary’s version uses a fatless sponge rather than ladyfingers that have been layered in a square mold, the chilled and released with tempered chocolate on top to decorate. The word of the day is “precision.” Everything must look neat and square. “What I am looking for,” Mary explains to Paul in the judge’s tent, “is for every layer to soaked evenly in the coffee and brandy, and even layers of the creamy mixture.”
Rather than the sparse recipe given to the contestants by Judge Berry, I pulled the full recipe from The Great British Baking Show: Masterclass, Season 1: Episode 4 and cross-referenced it with the recipe posted on pbs.org.
The Shopping List
- 13 cm by 25 cm Swiss Roll Tin. Let’s do it, everyone! Let’s take the plunge and come up with universal units of measure. Sure, science says that the metric system is preferable, but we all agree that measuring people against stones is batty, so let’s just agree on something. It can be the Esperanto of measuring. 13 centimeters is 5.11811 inches and 25 centimeters is 9.84252 inches, so that means I should just quit, right? No, I did not quit. I got up and carried on. Yes, I am brave. I got this 13” by 9” swiss roll tin. That is significantly bigger, which may affect the thickness of my sponge, and a thin sponge is what caused Iain to lose his temper and commit food waste, but I’ll just have to risk it.
- Square, Loose Bottom Cake Tin. Mary Berry does not give dimensions for her square tin on the masterclass episode, that saucy minx, but logically it’s got to be smaller than half the length of your swiss roll tin because you have to cut two squares out of it so I got this 6” by 6” cheesecake pan. If there is a sudden scarcity of anodized aluminum, we know why.
- Self-Raising Flour. Easy one, Lisa! Self-raising flour is just self-rising flour. Any dumb-dumb knows that! Um, hold your judgey horses, people! Because I have something to say to them and that is “Nay!” Nay, they are not the same!
 According to Nigella, American self-rising flour contains a bit of salt where British self-raising flour does not because of course, we put salt in our flour. It’s the high blood pressure that gives us our patriotic sense of urgency! Turns out self-raising flour is just flour with baking powder in it, and Nigella suggests just adding 2 tsp of baking powder to every 150 g of all-purpose flour. This recipe calls for 100 g of self-raising flour, so I made 150 g of self-rising flour and through the rest away. I know, I’m a monster but I don’t own a 1/3-teaspoon.
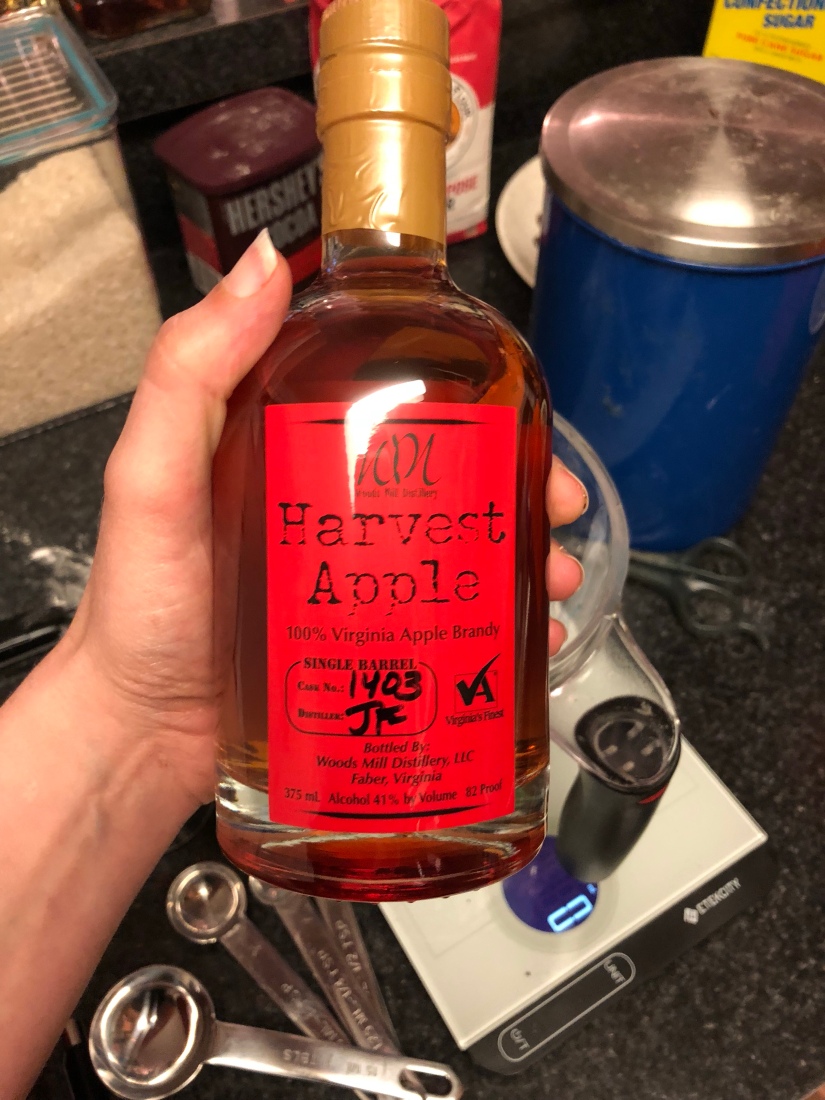
- If only I did the amount of deep research I did on self-raising flour on brandy because what I got from my local ABC store was this.
-
-
She’s a fine girl. What a good wife she would be. - I didn’t realize that cognac and Armagnac were also “brandy.” I just grabbed a bottle that said “brandy” on it, and it happens to be apple brandy. The results will be… inventive. There has to be a reason why there aren’t a lot of apple lattes going around.
On Your Marks, Get Set… Bake!

You must whip it. The recipe starts by making what Ms. Berry calls a “simple fatless sponge.” (‘Ooh, fatless! That means it’s healthy!’ she said while eating full-fat mascarpone cheese with a spoon.) It’s made from whisking your sugar and eggs together, then folding in your flour so that the height of the cake comes primarily from the foaminess of your eggs. I’d never made a cake from this method, and I was a bit intimidated. The sponge was the stumbling block for many in the tent, including our russet Hulk, Iain, and our baking builder, Richard.
“Fast speed and keep an eye on it.” I follow Ms. Berry’s masterclass directions and slam my mixer up to full speed and watched it intently, and I mean intently. I didn’t check twitter or nothing! Those churning eggs were the center of my universe. Not whisked enough, and my sponge will be a flaccid, yellow flap. Too stiff, and it will be tough to incorporate the flour. Ms. Berry recommends whisking until you can make a zigzag drizzle from your whisk back into your mixture and it just slowly sinks back in.

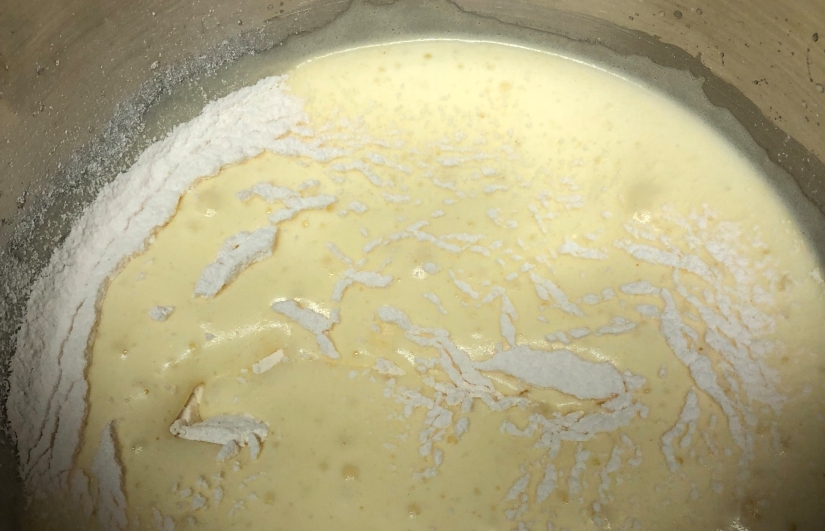
Folding time! I sift my flour into the bowl gently and try to replicate Ms. Berry’s expert method of going right ‘round the bowl and then cutting through the center until I can see no more flour and not a second longer. The last thing I want to do is knock the air out. You can see in the episode, that when Iain pours his first, infuriating sponge that his mixture is looking a little thin like perhaps it’s over-folded. Norman, on the other hand, pours his mixture and it clearly has huge pockets of flour in it. “A few spots of flour here and there, but you always get that…” Yeah, keep telling yourself that, Norman.
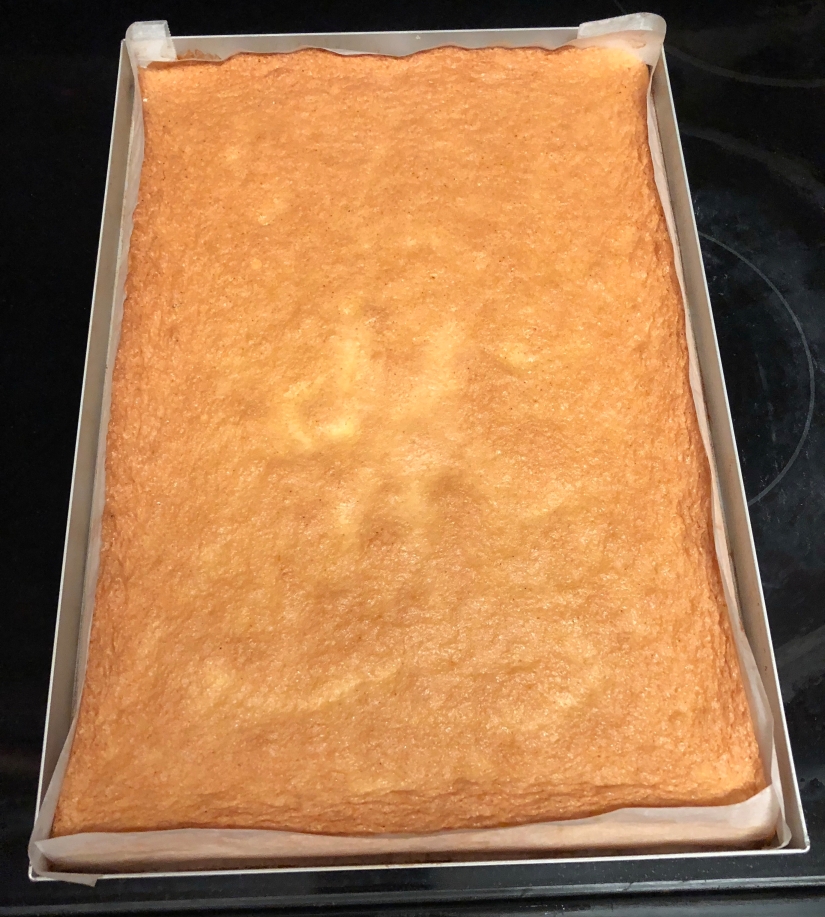
I pour my mixture into my swiss roll tin (“Not from a great height!” Thanks, Ms. Berry!), which I have meticulously prepped with butter and parchment paper. I then tipped the tin to get the mixture in the corners. I lovingly slipped it into my 345° F oven and set a timer for 25 minutes.
What’s that smell? This fatless sponge, whilst it was baking, did not fill my home with the smell I’m used to getting while baking a cake – the floury sweet scent. It smelled eggsy to me, which I found a little off-putting, but considering this cake is about half egg, I had to assume that scent was appropriate.

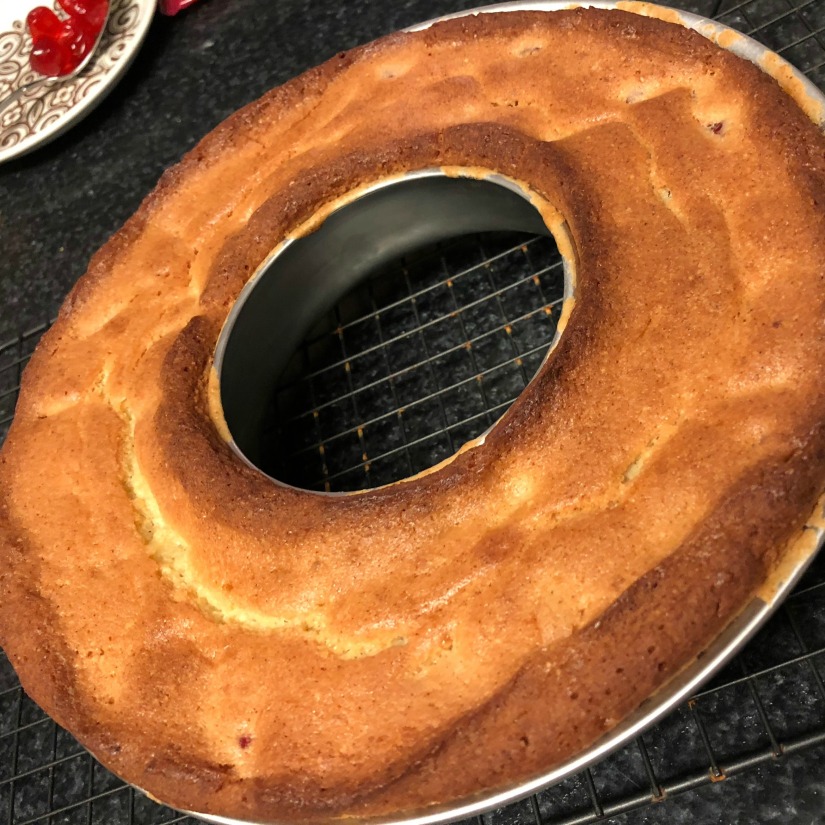
When all was said and done, my sponge was done after 26 or so minutes. I could tell it was finished when it was slightly springy to the touch. I was pretty stoked to see that my cake was well risen, and not like the sad yoga mat that Richard literally folded up and tossed in the trash. I like my cakes like I like my Cameron Crowe movies – DEEP (Like Vanilla Sky.)! My thicc sponge went straight from the oven to the fridge to cool and got on with my chocolate.
Now do the other things!! With the scariest part of my bake chillin’ like a villain in the fridge, I got on with all of the other elements. I tempered and piped my chocolate decor, I mixed the boozy coffee cocktail (and, like Norman, took a wee nip. It was kinda’ gross!), and used my hand mixer to get my sweetened mascarpone cream to a spreadable consistency. Phew! Getting a tiramisu together is like a Jane Fonda workout! So many steps!

Time to cut the cake. In the masterclass, Paul asks the question, “Could you have baked the layers separately, Mary?” “You could do them separately, but this was really setting them a bit of a task!” Jeez, Mary! Some judges just want to watch their baking-contestants burn! The bakers sweated bullets as they hacked at their cakes. Nancy and Kate ended up cobbling some of their layers together with cake remnants, for gosh sakes. Remnants!
I used Ms. Berry’s method of using a serrated a serrated knife, cutting the square, and then splitting the squares into layers rather than cutting the whole cake across and I did an okay job. One regret is that I left the baked edge on my cake, which in retrospect was a silly thing to do, but oh well.

What do a cake and I have in common? Layers. Time to make like we’re getting ready for an English summer day and layer it up! No Luis’s diagrams of cakes needed here! I tucked my first sponge layer in the bottom of my buttered and lined square tin and got to soaking. Many a fine baker faltered in the imbuing of sponge with coffee. Norman used a rather abstract expressionist Jackson Pollack method of splashing the boozy coffee, which proved to be folly, and Diana tried to force the liquid into an under-risen sponge, which was a catastrophe. The proper method is to use a pastry brush and paint on the boozy coffee evenly.

I then piped on the mascarpone trying to emulate Richard’s bubble piping on the edges and then filling in the center, sprinkled that layer with the grated chocolate, and repeat. For the final layer, Ms. Berry recommends a thin layer of mascarpone, and skip the grated chocolate. With my tin all filled with Tiramisu goodness, all that is left to do is put the cake in the fridge to set, and lick the mascarpone bowl clean.
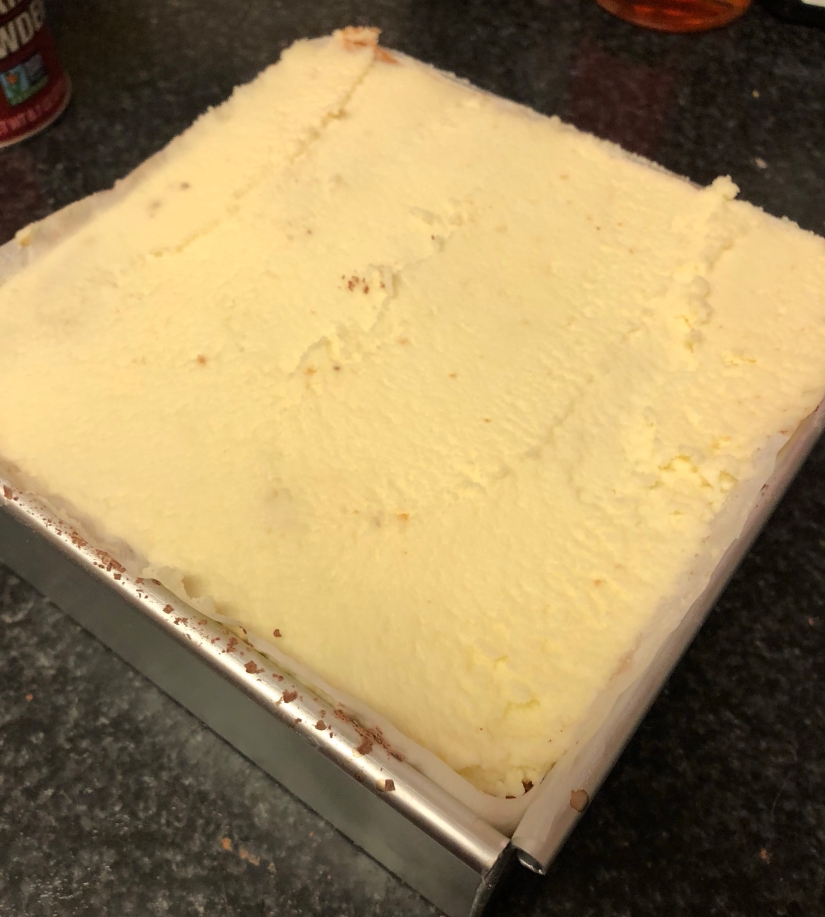
Let loose! It took tremendous restraint to leave my cake alone in the refrigerator for about an hour. I suffered acute separation anxiety, but finally, the time came to unsheathe my masterpiece and add my finishing touches. I got a lot of satisfaction from pushing my cake out of its mold and seeing its fine finished edges and well defined (ish) layers.
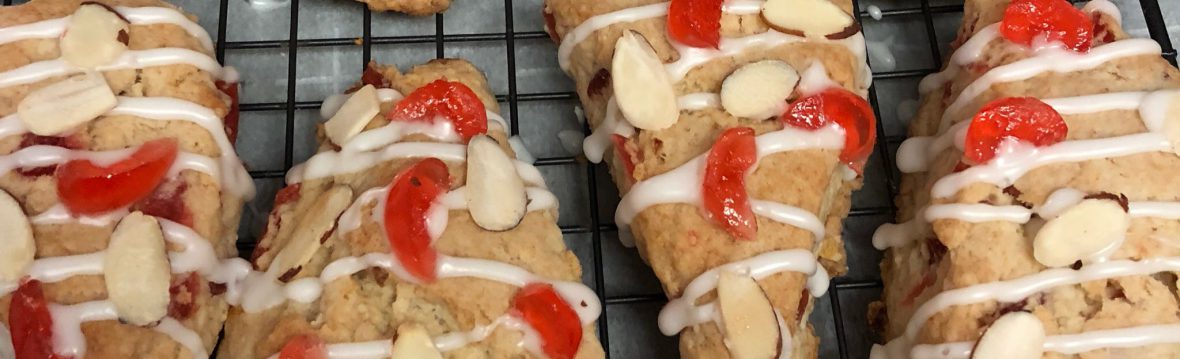
I sprinkled on the cocoa with a sieve. Many of my chocolate shapes broke while I was trying to get them off of the parchment because they were way too thin, but I got enough irregularly sized shapes to adorn the top of my tiramisu.

Sometimes the cookie has to crumble. I called Brad over to see my finished product and give me my well-deserved round of applause. We were snapping pics and high-fiving when I noticed the edge of parchment peaking out the bottom of my cake. Oh no! My cake was still sitting on the loose bottom of the cake tin. That’s not right.
Brad was like, “That’s fine” but I have never met a well enough that I have successfully left alone, so I strong-armed brad into helping me get the square of aluminum out from under my cake. In the masterclass, Mary and Paul use two large, metal spatulas to do this particular task. I don’t own two large, metal spatulas. I own one large, metal spatula and one teeny-weeny metal spatula.

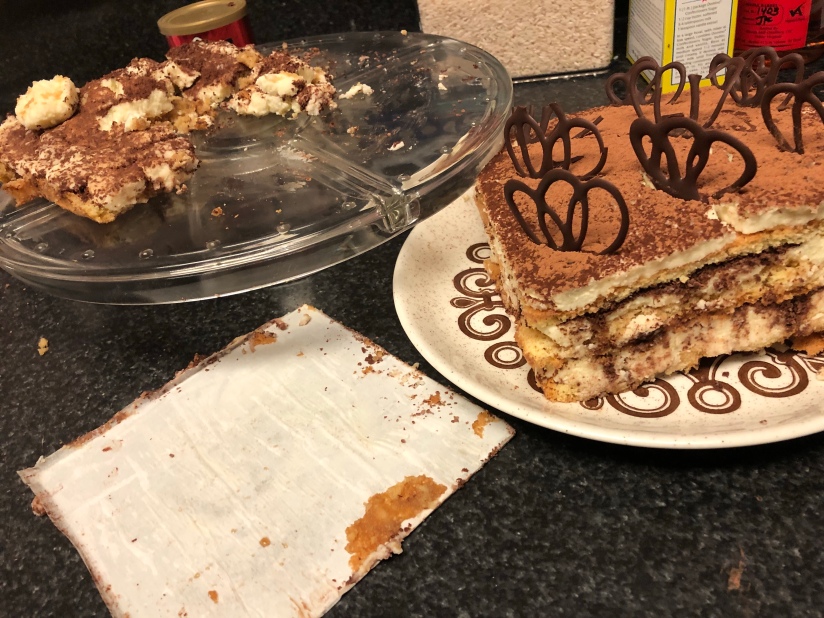
This is the part of the story where everyone gets to feel like Nosferatu. Yes, the bottom of my cake fell out. I was devastated. I ended up serving my busted tiramisu cake to my book club in a 9″x 8″ metal cake pan and a heavy fog of regret. They were all still super nice about it.
Did I make time? Absolutely not. Not even close. My 2 1/2 hour timer went off while I was somewhere in the layering stage. This bake took forever. Brad was able to watch all of Schindler’s List and make some significant progress in the Netflix true crime documentary series Evil Genious in the time I was able to complete this bake. Cheery watching, I know. The fact that in the tent all of the bakers finished their cakes in time, especially with restarting sponges and what not, is astounding.
The Gingham Altar
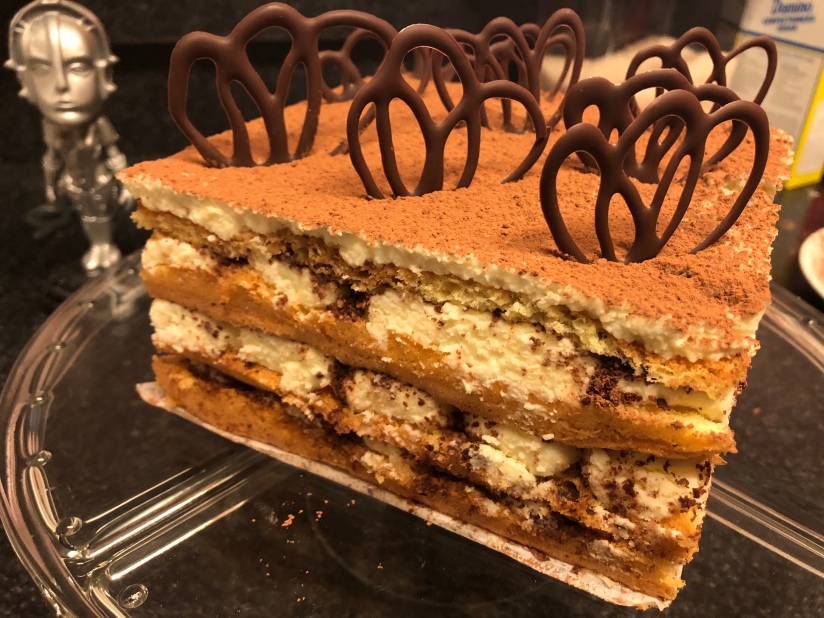
Would it make the cut? Um… before my Mary Berry Tiramisu Cake lost its butt? Maybe. My chocolate shapes are irregular, my bubble piping did not really turn out, and my layers are wibbley-wobbly, but my sponge turned out perfectly and I used a pastry brush to brush on the boozy-coffee evenly. Even having used apple brandy, the flavor of the tiramisu was very good, and the bakers in the tent would not have used apple brandy by accident, because their ingredients are provided. My cake was not weeping liquid onto the gingham like Diana, or dry as a Mormon wedding like Norman’s. I would probably have been somewhere between Kate (7th) who had a messy finish, and Norman’s temperance tiramisu (8th).

After the disaster, I surely would have been in the last place, but I still would have been safe for the week because of Iain’s misfortune. Mwa ha ha ha.
Recipe: Mary Berry’s Tiramisu Cake
Sponge
- softened butter to grease pan
- 4 large eggs
- 100 g caster sugar
- 100 g self-raising flour (all purpose+1 1/3 tsp of baking powder)
Decoration
- 100 g of 70% cocoa dark chocolate
- Cocoa Powder for Dusting
Filling
- 750 g of full fat mascarpone cheese.
- 3 tbs of icing sugar
- 30 mL of whipping cream
- 75g of 48% cocoa dark chocolate
Boozy Coffee Mixture
- 150 mL boiling water
- 1 tbs instant coffee
- 100 mL brandy
Bake your sponge.
- Get prepped. Preheat your oven to 160° C Fan (320° F Fan/345° F) and grease your 35×25 cm (13×9 in) swiss roll tin with the butter, then line with parchment paper.
- Beat it. Using a whisk attachment, beat the egg and sugar together until the eggs have gone pale and fluffy, and when you let the eggs drizzle from whisk, it sinks back into you mixture.
- Fold it. Sift your flour into your egg mixture, then gently fold until the flour is incorporated.
- Fill it. Pour your batter into your prepared tin, then tip the tin to fill the corners.
- Bake it. Bake for 25-28 minutes, until the sponge is risen, golden brown, and springy to the touch. Allow the sponge to cool completely in the pan.
Make chocolate décor.
- Prep for chocolate. Tape your stencil to a cutting board or flat surface then tape your parchment paper over your stencil. Have your piping bag at the ready.
- Chop chocolate. Chop your 70% dark chocolate bar into small pieces and set aside 1/3.
- Turn up the heat. Put 2/3 of your chocolate in a glass bowl and set it on a pot of simmering water. Stir as the chocolate melts, monitoring with a candy thermometer, until the chocolate reaches 55° C (131° F). Take the bowl of the pot.
- Cool it down. Add your reserved chocolate a little bit at a time while stirring to gradually bring down the temperature to 28° C (82° F).
- Warm to working temp. Put the melted chocolate back on the heat to bring the temp just up to 32° C (89° F). Transfer your chocolate to your piping bag.
- Stencil. Snip the tip of your piping bag and trace your stencil onto the parchment paper. Stick the whole cutting board into the fridge to cool.
Make your fillings.
- Make your boozy coffee. Boil over 75 mL of water. In a large cup or bowl, put your coffee granules. Pour 75 mL of boiling water over the coffee and then add your brandy. Stir. Put in the fridge to cool.
- Make your filling. Whip your mascarpone, icing sugar, and cream together until they are a whipping consistency.
- Grate your chocolate. Grate your 48% chocolate bar and set aside.
Assemble and serve.
- Split your sponge. Turn out your sponge and peel off the paper. Cut two squares out of your cake to the to the dimensions of the bottom of your square, loose-bottom tin – 18 cm (6 in). Then split the height of the two squares so you now have four thin layers.
- Prep your tin. Butter and line your square tin with parchment paper.
- Layer up! Push a layer of sponge to the bottom or your tin. Use a pastry brush to brush your sponge with the boozy coffee. Then add a layer of the mascarpone mixture, and then top off with the grated chocolate. Repeat until the last layer so you end on a thin layer of the mascarpone. Put the cake in the fridge to set.
- Finish up. Right before serving, lift the cake out of the tin. Dust with cocoa powder then arrange your chocolate on top.